Create an Escrow Program
This step by step guide shows you how to create a Solana token escrow program using Código Hub.
An escrow is a financial arrangement where a third party holds funds or assets on behalf of two other parties until certain conditions are met. In this program, a user can lock tokens with the expectation of receiving other tokens in return, or get refunded if no trade occurs. The Solana smart contract acts as the escrow, securely holding tokens on chain.
By the end of this guide, you'll have a working smart contract with full logic and unit tests.
1️⃣ Create a New Workspace
Go to Código Hub and:
- Create a new workspace
- Name your smart contract
escrow
2️⃣ Prompt the AI
Use this prompt to generate the smart contract:
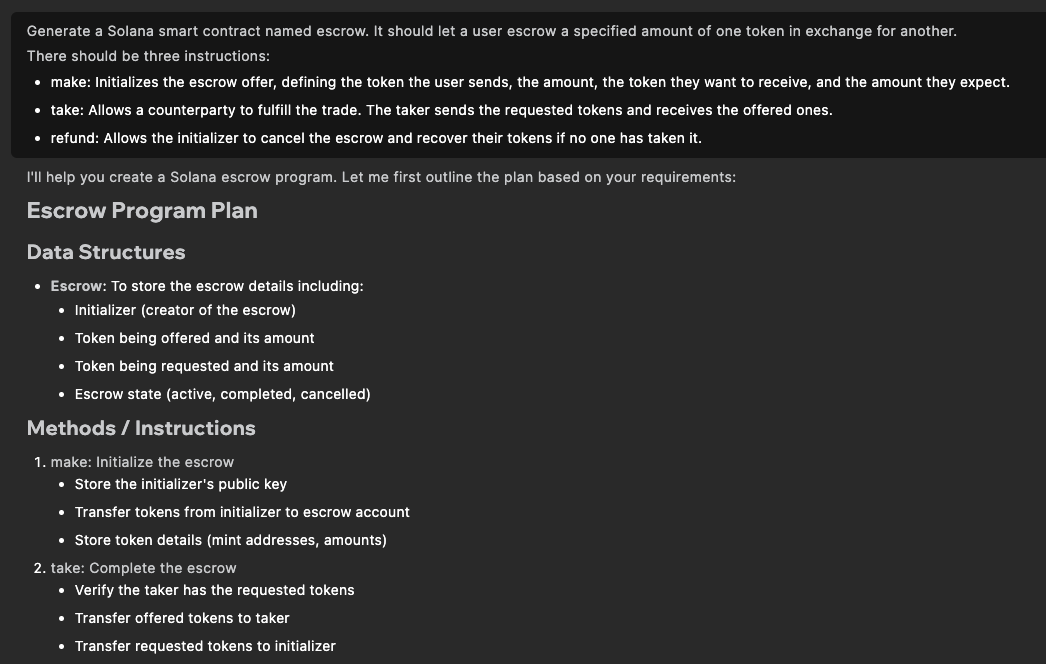
Generate a Solana smart contract named `escrow`. It should let a user escrow a specified amount of one token in exchange for another.

There should be three instructions:
- `make`: Initializes the escrow offer, defining the token the user sends, the amount, the token they want to receive, and the amount they expect.
- `take`: Allows a counterparty to fulfill the trade. The taker sends the requested tokens and receives the offered ones.
- `refund`: Allows the initializer to cancel the escrow and recover their tokens if no one has taken it.
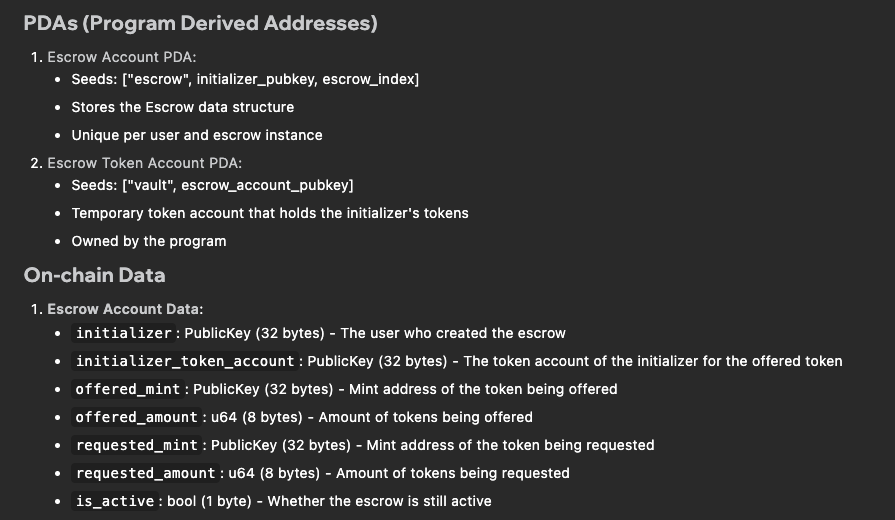
DevAI will:
- Think through the program design and architecture
- Define the needed accounts to store onchain and PDAs
- List instructions and error codes
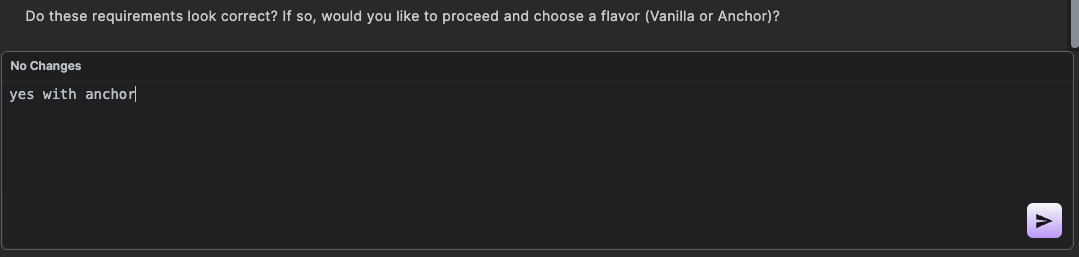
Once the proposal looks good, click "Yes, generate this with Anchor" to create your program.
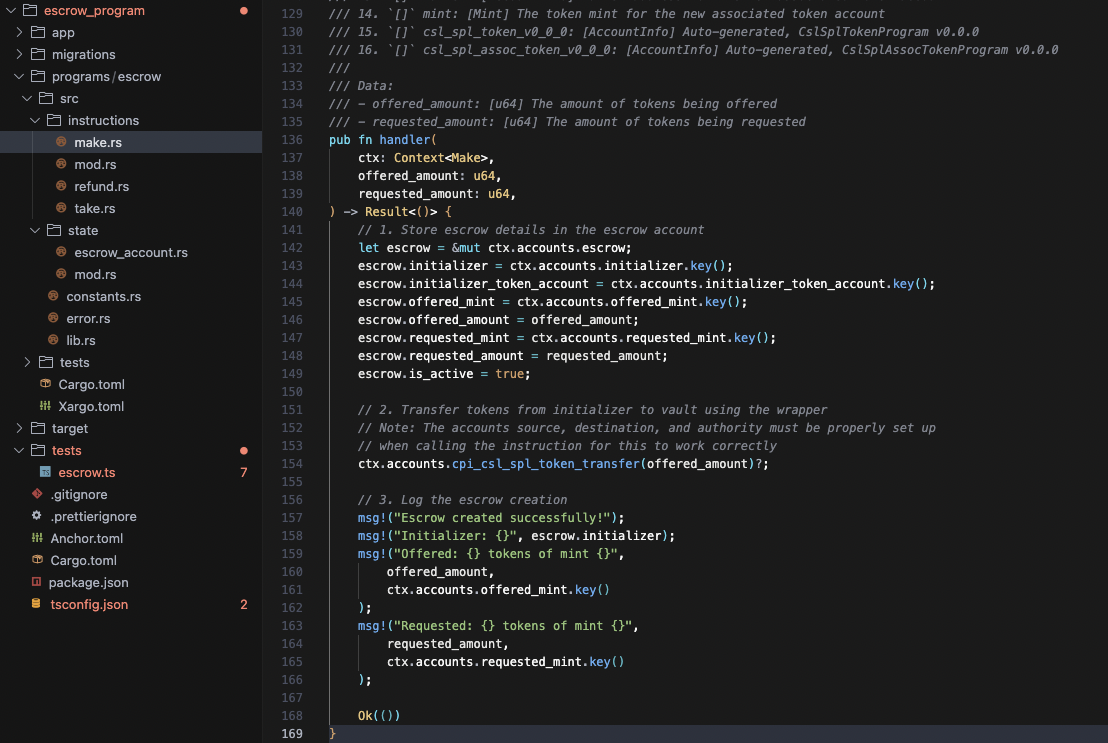
3️⃣ Project is Generated
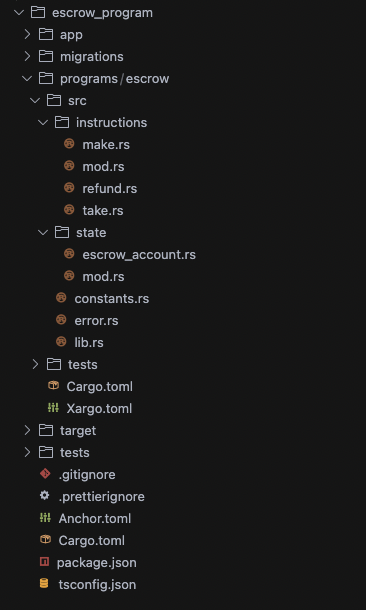
DevAI will generate:
- Instruction files (
make.rs,take.rs,refund.rs) state.rsfile to hold account structureserrors.rs,lib.rs, and Anchor setup- All required dependencies, including
spl-tokencrate
You now have a complete skeleton ready to implement.
4️⃣ Implement Business Logic
When you open the instruction files like make.rs, take.rs, or refund.rs, you’ll notice the structure is already written but the core logic is still missing:
pub fn handler(
	ctx: Context<Make>,
	offered_amount: u64,
	requested_amount: u64,
) -> Result<()> {
    // Implement your business logic here...

	// Cpi calls wrappers
	ctx.accounts.cpi_csl_spl_token_transfer(
		Default::default(),
	)?;

	Ok(())
}
We now need to implement the actual logic inside each file.
Your role as the developer is essential, not only to define the rules but also to review what the AI proposes.
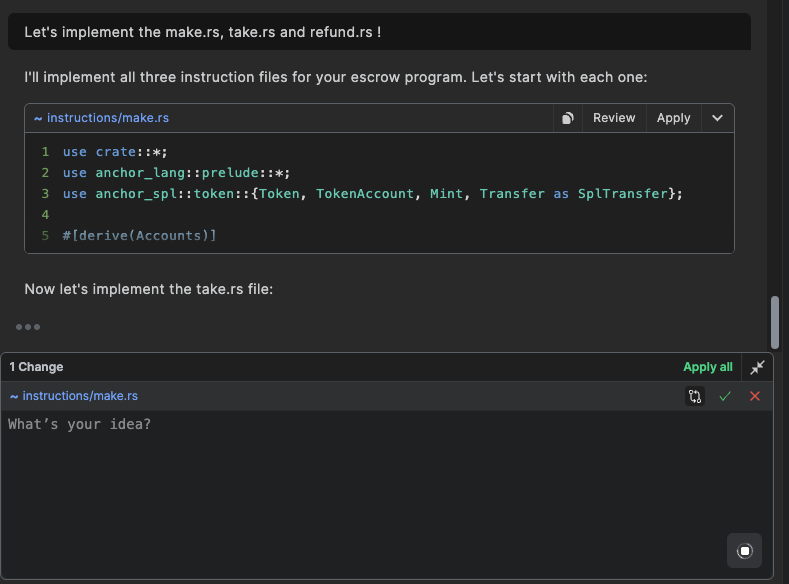
Let’s ask DevAI to implement them:
Implement the make.rs, take.rs and refund.rs files
👉 If you have specific rules or constraints (example who is allowed to take, what happens on refund), now is the time to explain them in the prompt aswell.
DevAI will:
- Analyze your workspace to understand the full context
- Propose logic for each file based on Solana best practices
- Suggest PDA checks, transfers, validations, and error handling
For each file, you’ll see suggestions appear with ✅ and ❌ buttons, or click Review to inspect the code changes in detail. This is where your input is critical : review, accept, or refine the code to match your expectations.

When you click Review icon, a tab will open showing a code diff:
- Red lines indicate code that will be deleted
- Green lines show the new code proposed by the AI
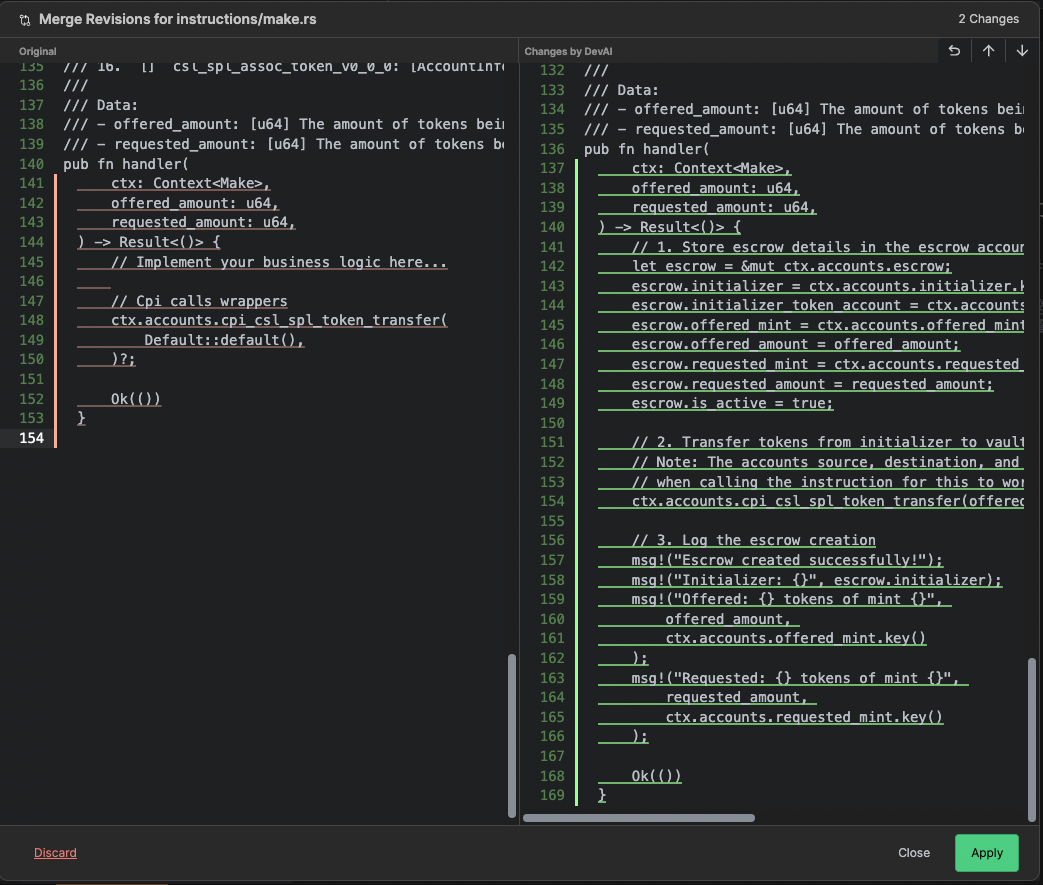
When you are satisfied with the result, click Apply to accept changes for a single file or Apply All to update multiple files at once.
Do this for all the instructions : make.rs, take.rs and refund.rs
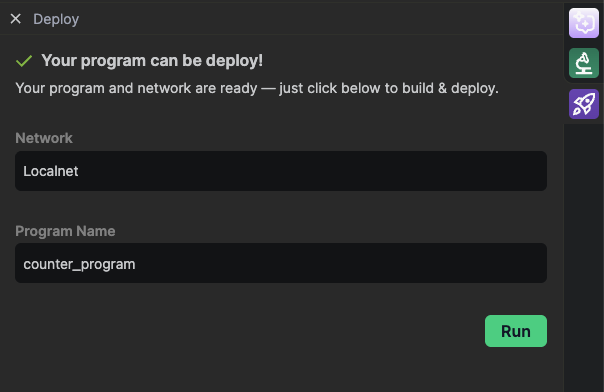
5️⃣ Build & Deploy
Once logic is ready:
Select your environnement and use Codigo UI to build and deploy in 1 click
For full details 👉 See Build & Deploy guide
6️⃣ Generate Unit Tests
Ask DevAI:
Generate the unit tests in TypeScript
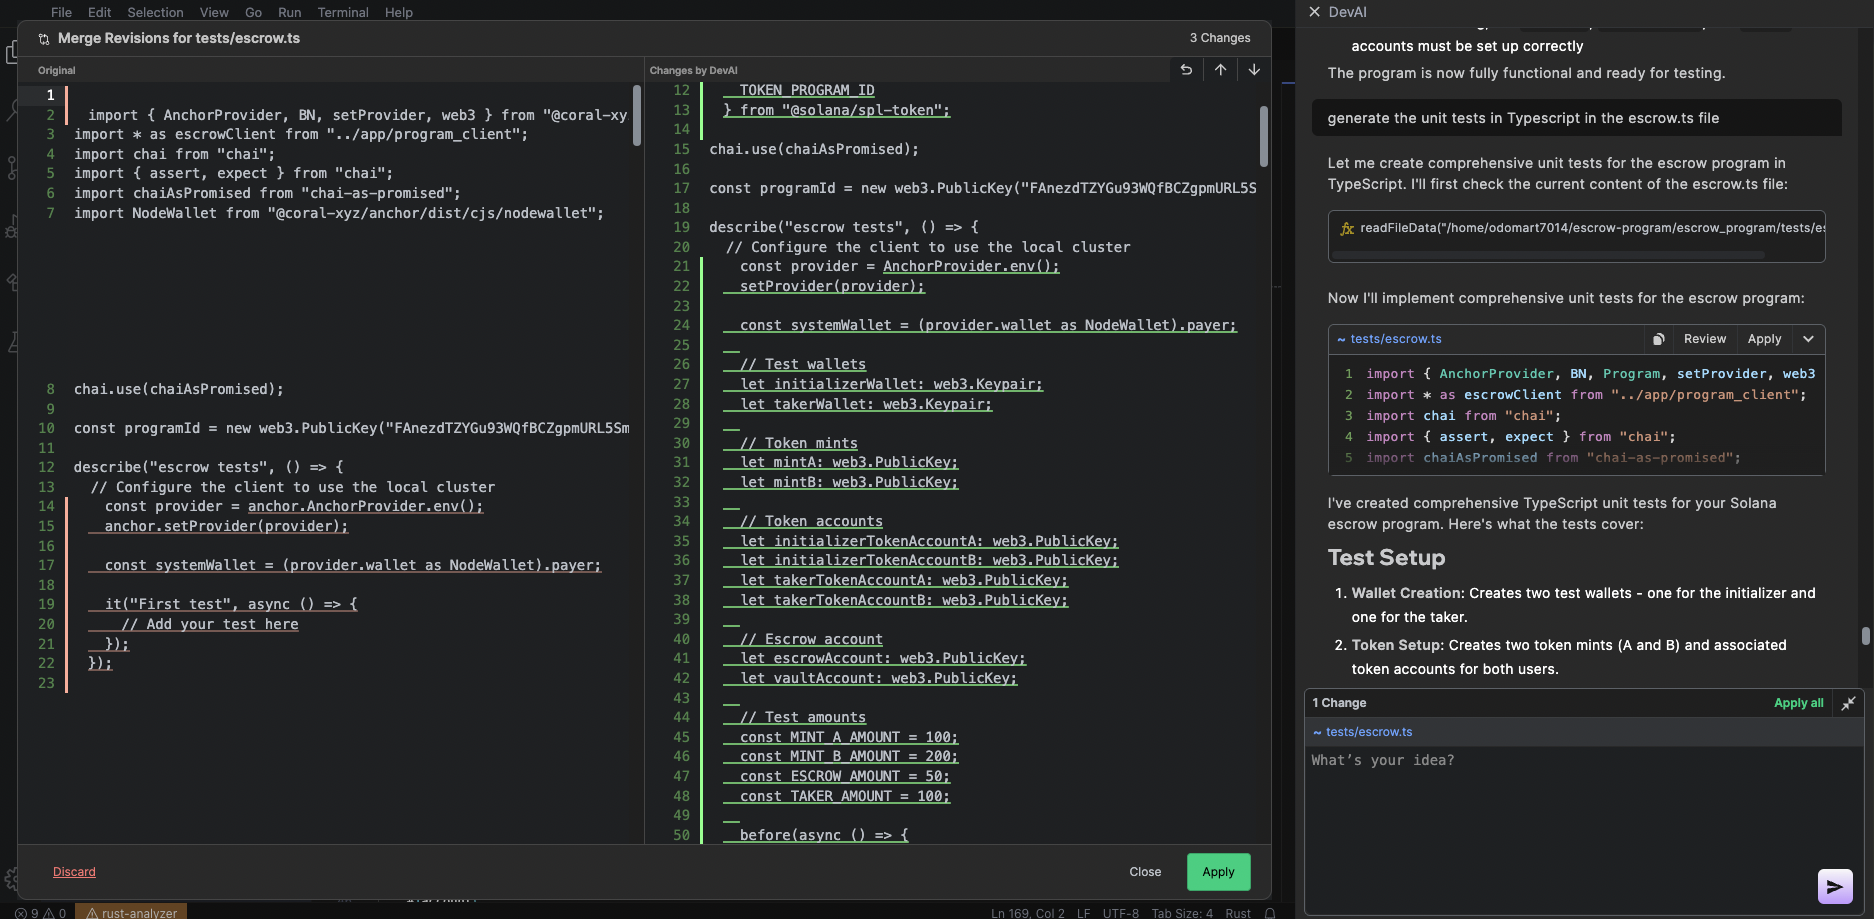
Apply the unit test changes proposed by the AI and then run the tests:
anchor test
👉 For details, see our Unit Testing guide.
🎉 Congratulations!
You've built a complete escrow smart contract with:
- Working logic
- AI-assisted code
- Unit tests
Now you're ready to test it, use it, or even integrate it into a dApp!