How to Write and Run Unit Tests
This guide walks you through writing and executing unit tests for your Solana smart contract using Código Hub with either the Anchor or Rust Native framework.
Unit tests are essential to ensure that your program behaves as expected before deploying to a live network.
🧱 Prerequisites
Make sure you’ve:
- Created a workspace on Código Hub
- Generated your program with DevAI (via prompt or template)
- Implemented the business logic in your instruction files
- Built your program
🛠️ Anchor Unit Tests
1️⃣ Write Unit Tests
Unit tests are written in TypeScript and located in the tests/ folder of your workspace.
Most generated projects already include a basic test file, like the one below:
import { AnchorProvider, BN, setProvider, web3 } from "@coral-xyz/anchor";
import * as nftMarketplaceClient from "../app/program_client";
import chai from "chai";
import { assert, expect } from "chai";
import chaiAsPromised from "chai-as-promised";
import NodeWallet from "@coral-xyz/anchor/dist/cjs/nodewallet";
chai.use(chaiAsPromised);

describe("nft_marketplace tests", () => {
  const provider = anchor.AnchorProvider.env();
  anchor.setProvider(provider);

  const systemWallet = (provider.wallet as NodeWallet).payer;

  it("First test", async () => {
    // Add your test here
  });
});
This is a basic structure, nearly empty. You can ask DevAI to improve it:
Generate the unit test in TypeScript for the instruction initialize_marketplace
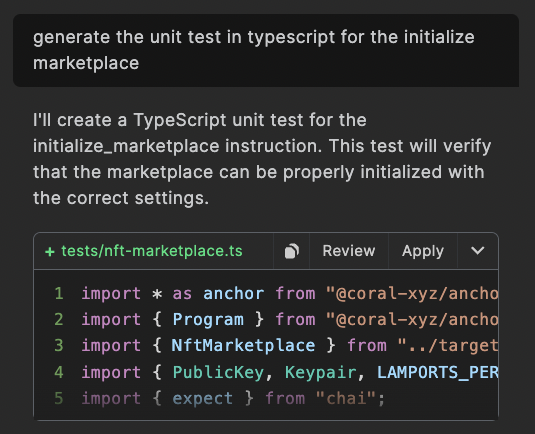
Here is an example of a generated test:
import * as anchor from "@coral-xyz/anchor";
import { Program } from "@coral-xyz/anchor";
import { NftMarketplace } from "../target/types/nft_marketplace";
import { PublicKey, Keypair, LAMPORTS_PER_SOL } from "@solana/web3.js";
import { expect } from "chai";

describe("NFT Marketplace", () => {
  const provider = anchor.AnchorProvider.env();
  anchor.setProvider(provider);

  const program = anchor.workspace.NftMarketplace as Program<NftMarketplace>;
  const marketplaceAuthority = Keypair.generate();
  const treasuryKeypair = Keypair.generate();
  const treasury = treasuryKeypair.publicKey;

  const [marketplacePda] = PublicKey.findProgramAddressSync(
    [Buffer.from("marketplace")],
    program.programId
  );

  const feePercentage = 250;

  before(async () => {
    const signature = await provider.connection.requestAirdrop(
      marketplaceAuthority.publicKey,
      LAMPORTS_PER_SOL
    );
    await provider.connection.confirmTransaction(signature);
  });

  it("Initialize marketplace", async () => {
    await program.methods
      .initializeMarketplace(feePercentage, treasury)
      .accounts({
        marketplace: marketplacePda,
        authority: marketplaceAuthority.publicKey,
        systemProgram: anchor.web3.SystemProgram.programId,
      })
      .signers([marketplaceAuthority])
      .rpc();

    const marketplaceAccount = await program.account.marketplace.fetch(marketplacePda);

    expect(marketplaceAccount.authority.toString()).to.equal(
      marketplaceAuthority.publicKey.toString()
    );
  });

  it("Should fail when non-authority tries to initialize again", async () => {
    // failure test case here
  });
});
2️⃣ Run Unit Tests
Once your test files are ready, open a terminal in Código and run:
Install the dependencies
npm install
Run the tests
anchor test
This will:
- Build your program
- Start a local validator
- Deploy your program
- Execute all test files in the
tests/folder
Optional: Skip Validator and Deploy
If your validator is already running and the program is already deployed, you can skip those steps:
anchor test --skip-local-validator --skip-deploy
⚠️ Make sure your test environment is still connected to the right cluster and your program is deployed correctly.
🧪 Native Rust Unit Tests
If you're using the Rust Native framework instead of Anchor, unit tests are written directly in Rust using solana-program-test.
1️⃣ Write Unit Tests
You can create a test file manually under program/tests/. A good practice is to create one file per instruction.
You can also ask DevAI to generate the Rust unit tests:
Generate unit test in Rust for instruction initialize_marketplace
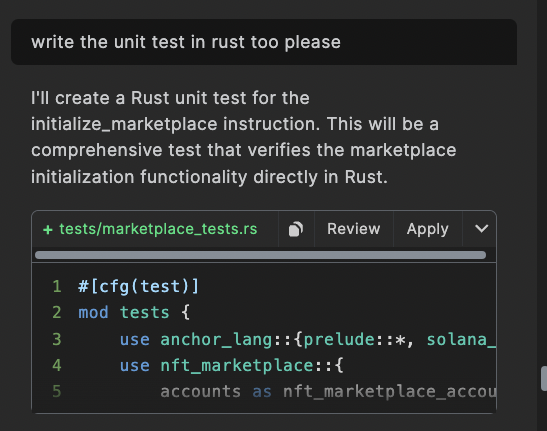
Here’s a simplified example of the result:
#[cfg(test)]
mod tests {
    use anchor_lang::{prelude::*, solana_program::system_program};
    use solana_program_test::*;
    use solana_sdk::{
        account::Account,
        signature::{Keypair, Signer},
        transaction::Transaction,
    };

    #[tokio::test]
    async fn test_initialize_marketplace() {
        let program_test = ProgramTest::new(
            "nft_marketplace",
            nft_marketplace::ID,
            processor!(nft_marketplace::entry),
        );

        let (mut banks_client, payer, recent_blockhash) = program_test.start().await;
        let marketplace_authority = Keypair::new();
        let treasury = Keypair::new().pubkey();

        let (marketplace_pda, _bump) = Pubkey::find_program_address(
            &[b"marketplace"],
            &nft_marketplace::ID,
        );

        let ix = nft_marketplace::instruction::initialize_marketplace(
            nft_marketplace::ID,
            marketplace_pda,
            marketplace_authority.pubkey(),
            system_program::ID,
            250,
            treasury,
        );

        let mut tx = Transaction::new_with_payer(&[ix], Some(&payer.pubkey()));
        tx.sign(&[&payer, &marketplace_authority], recent_blockhash);

        banks_client.process_transaction(tx).await.unwrap();
    }
}
2️⃣ Run Rust Tests
Run this from your program root:
cargo test-bpf
This will compile your BPF program and run the test suite using solana-program-test.
✅ Make sure the
#[tokio::test]attribute is used for asynchronous tests.
✅ Best Practices
- Create one test file per instruction for clarity
- Use meaningful input data to simulate real scenarios
- Test both expected success cases and intentional failure paths
🚀 Next Steps
👉 Start from Template
👉 Implement Business Logic
👉 How to Build & Deploy My Program