Test UI Interface
This guide shows you how to use Código's Test UI feature to visually test your smart contracts without writing any frontend code.
The Test UI provides a built-in interface to simulate and run your smart contract instructions with real inputs, accounts, and expected outputs. You can test your program's functionality, view transaction details, and inspect account data all from within the Código IDE.
Works with both Anchor and Rust native programs - the Test UI automatically adapts to your program's structure and provides the same intuitive testing experience.
1️⃣ Access Test UI
After you've successfully built and deployed your smart contract, you'll see a green "Test" icon appear in the navigation bar.
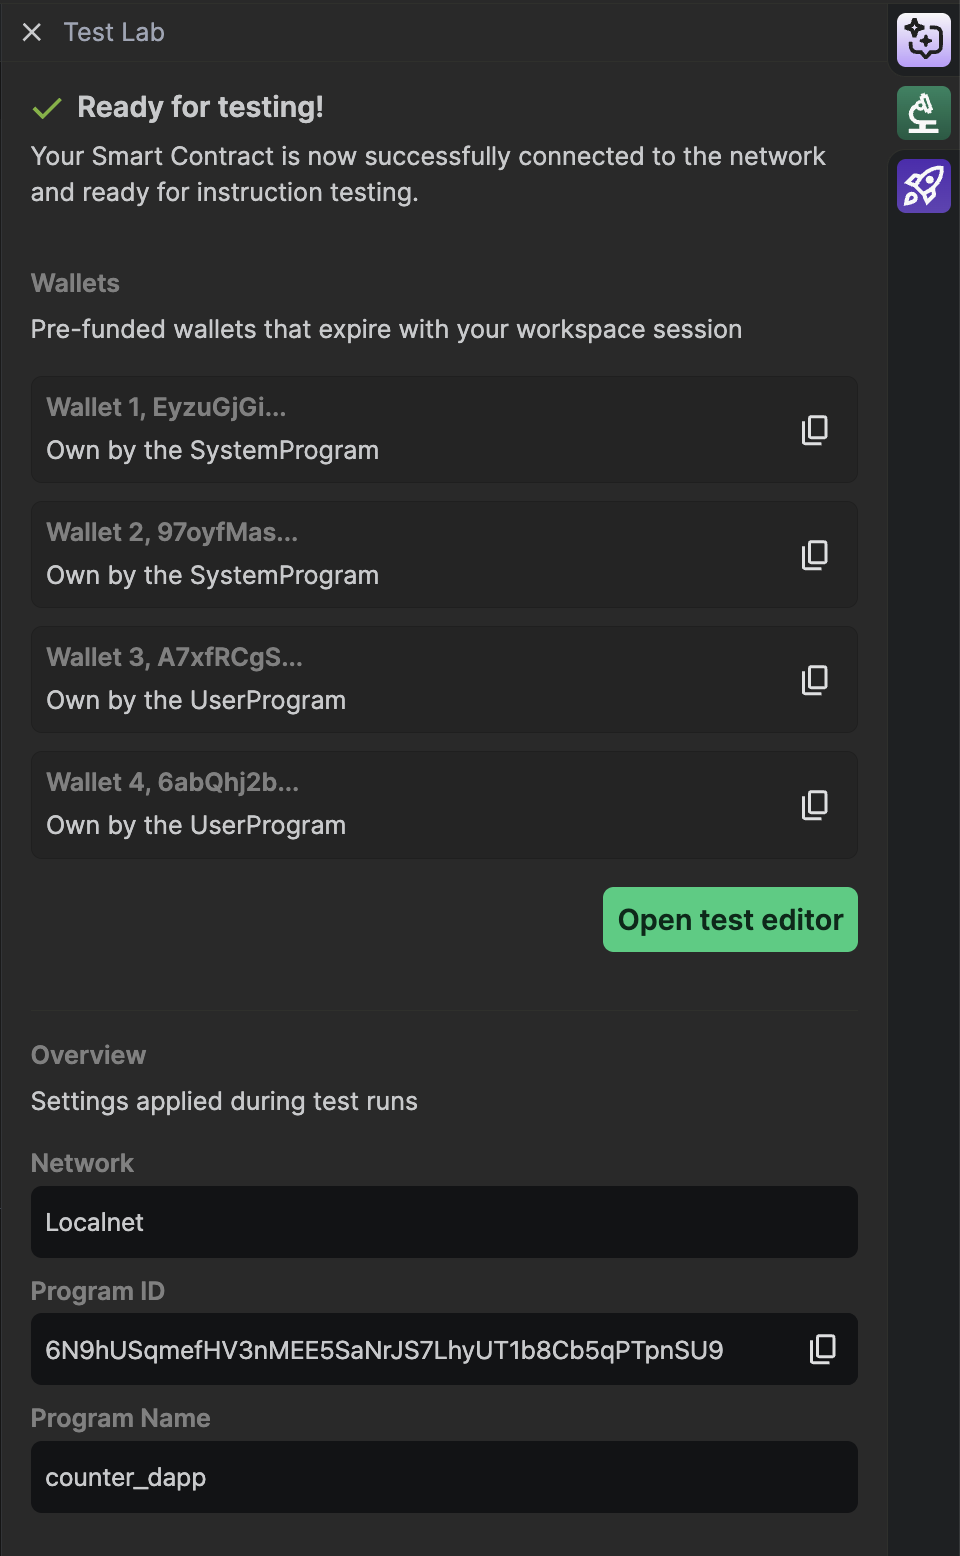
Click on the "Test" icon to access the testing interface, then click on "Open test editor".
2️⃣ Test Editor Interface
The Test UI automatically generates 2 user wallets for you to use during testing. This allows you to simulate interactions between different users.
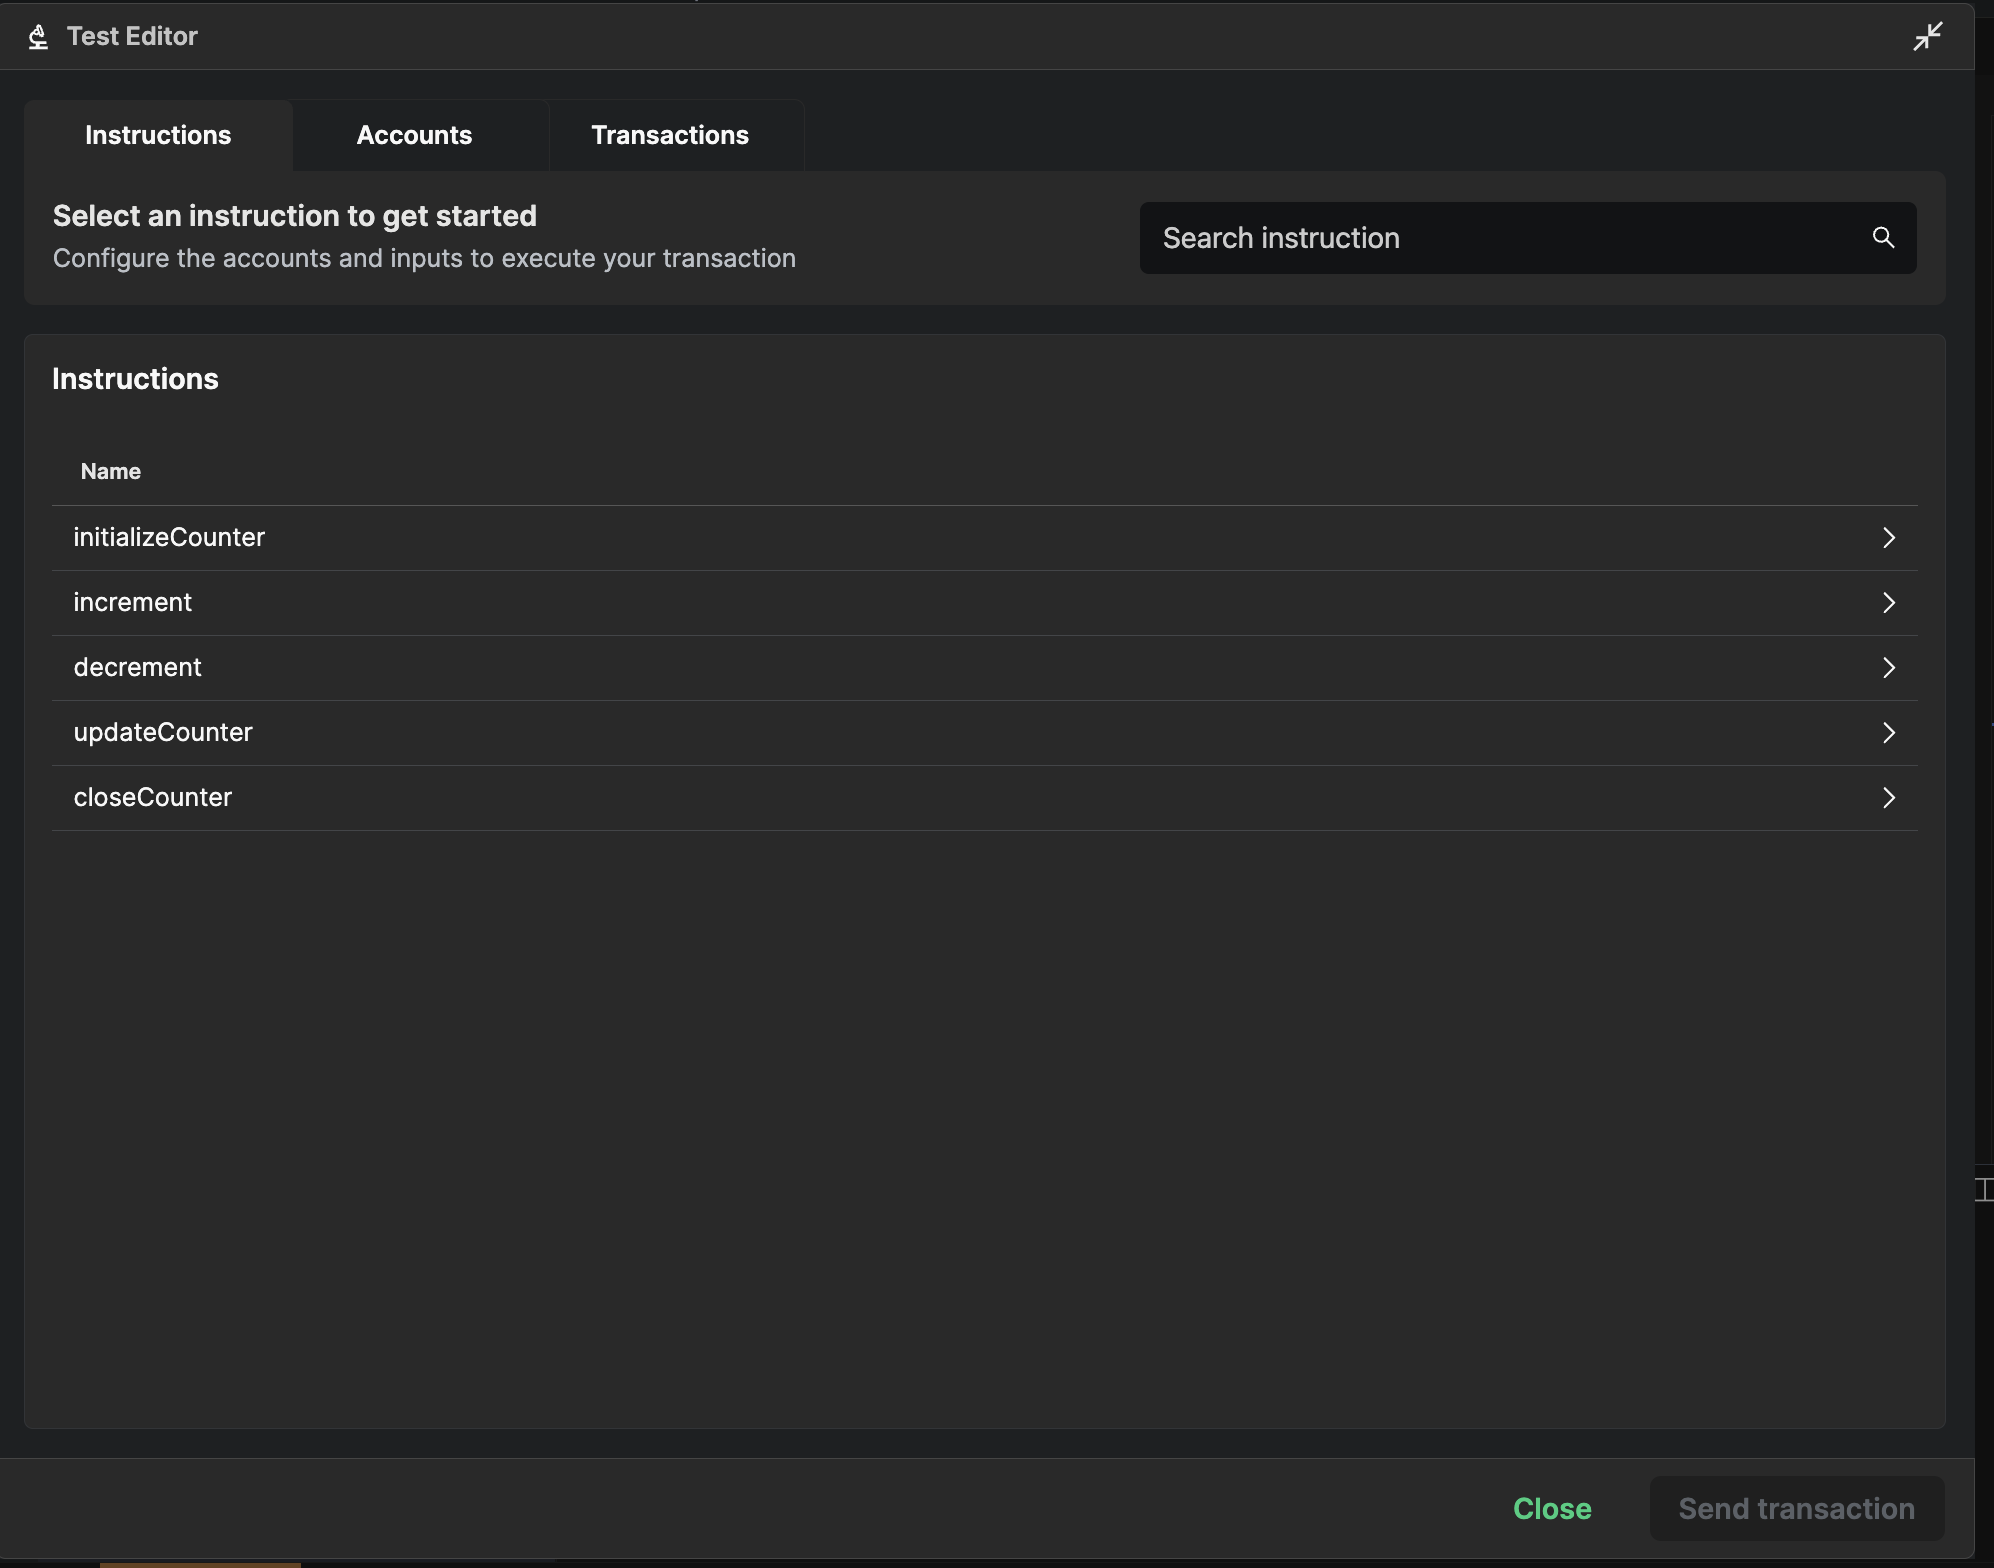
You'll see a list of all the instructions available in your smart contract. Each instruction represents a method that can be called on your deployed program.
3️⃣ Execute Instructions
Click on any instruction from the list to access its testing interface.
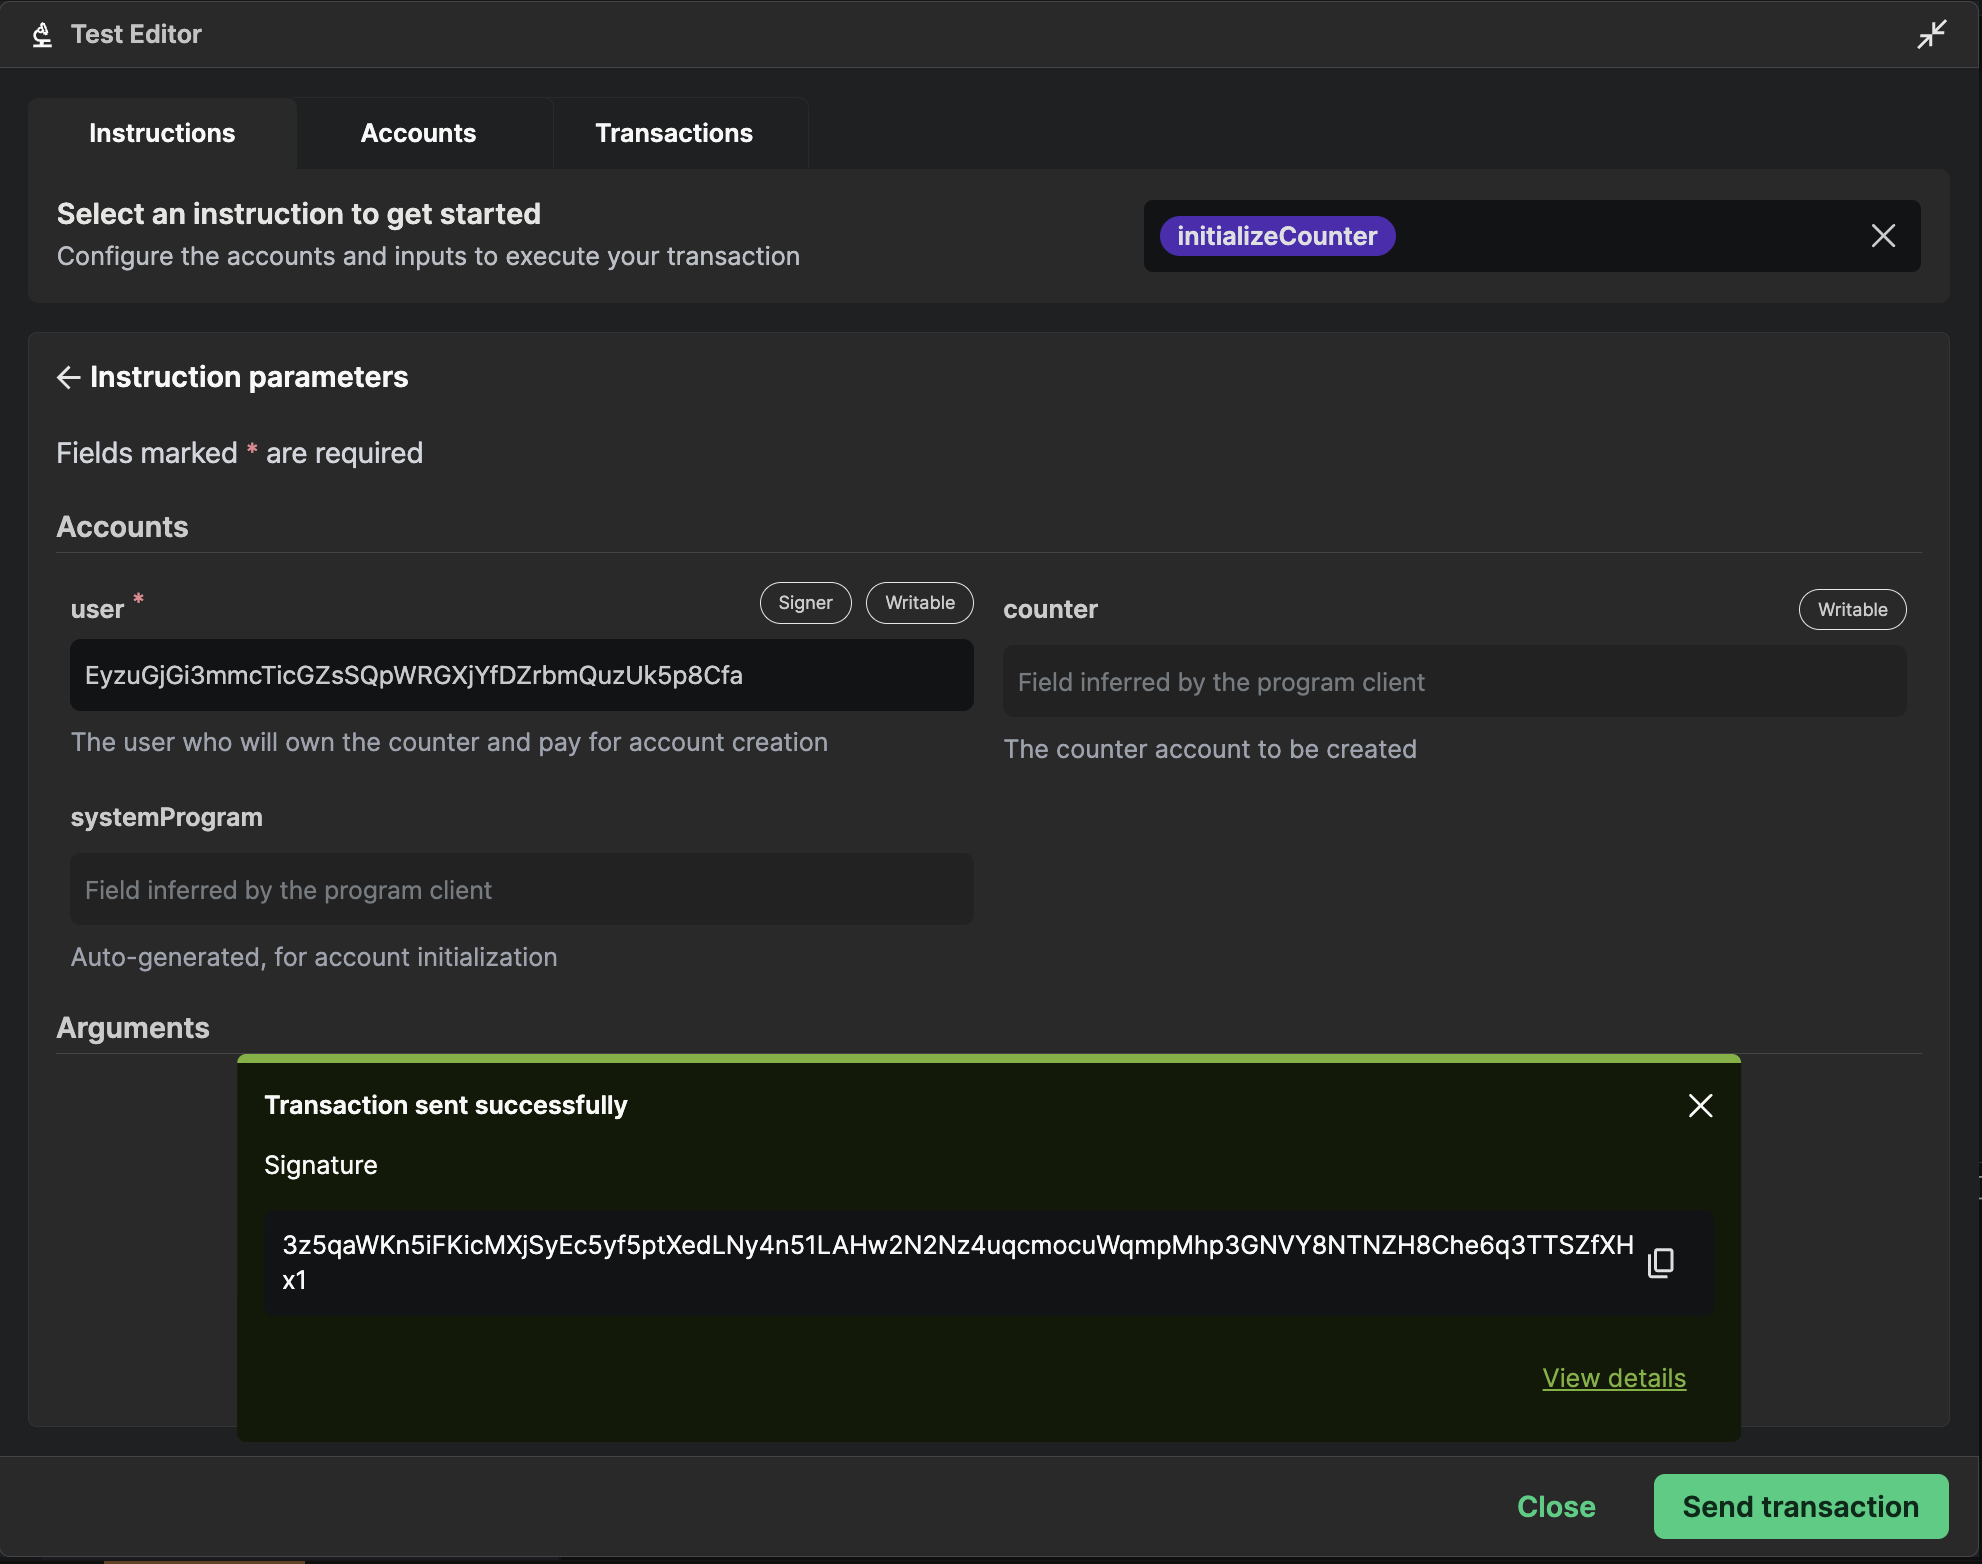
Here you can:
- Input required accounts - Select which user wallet will sign the transaction
- Set parameters - Enter the values needed for the instruction (amounts, addresses, etc.)
- Review the transaction - See all the details before sending
Once you've configured the instruction, click the green "Send Transaction" button to execute it on the blockchain.
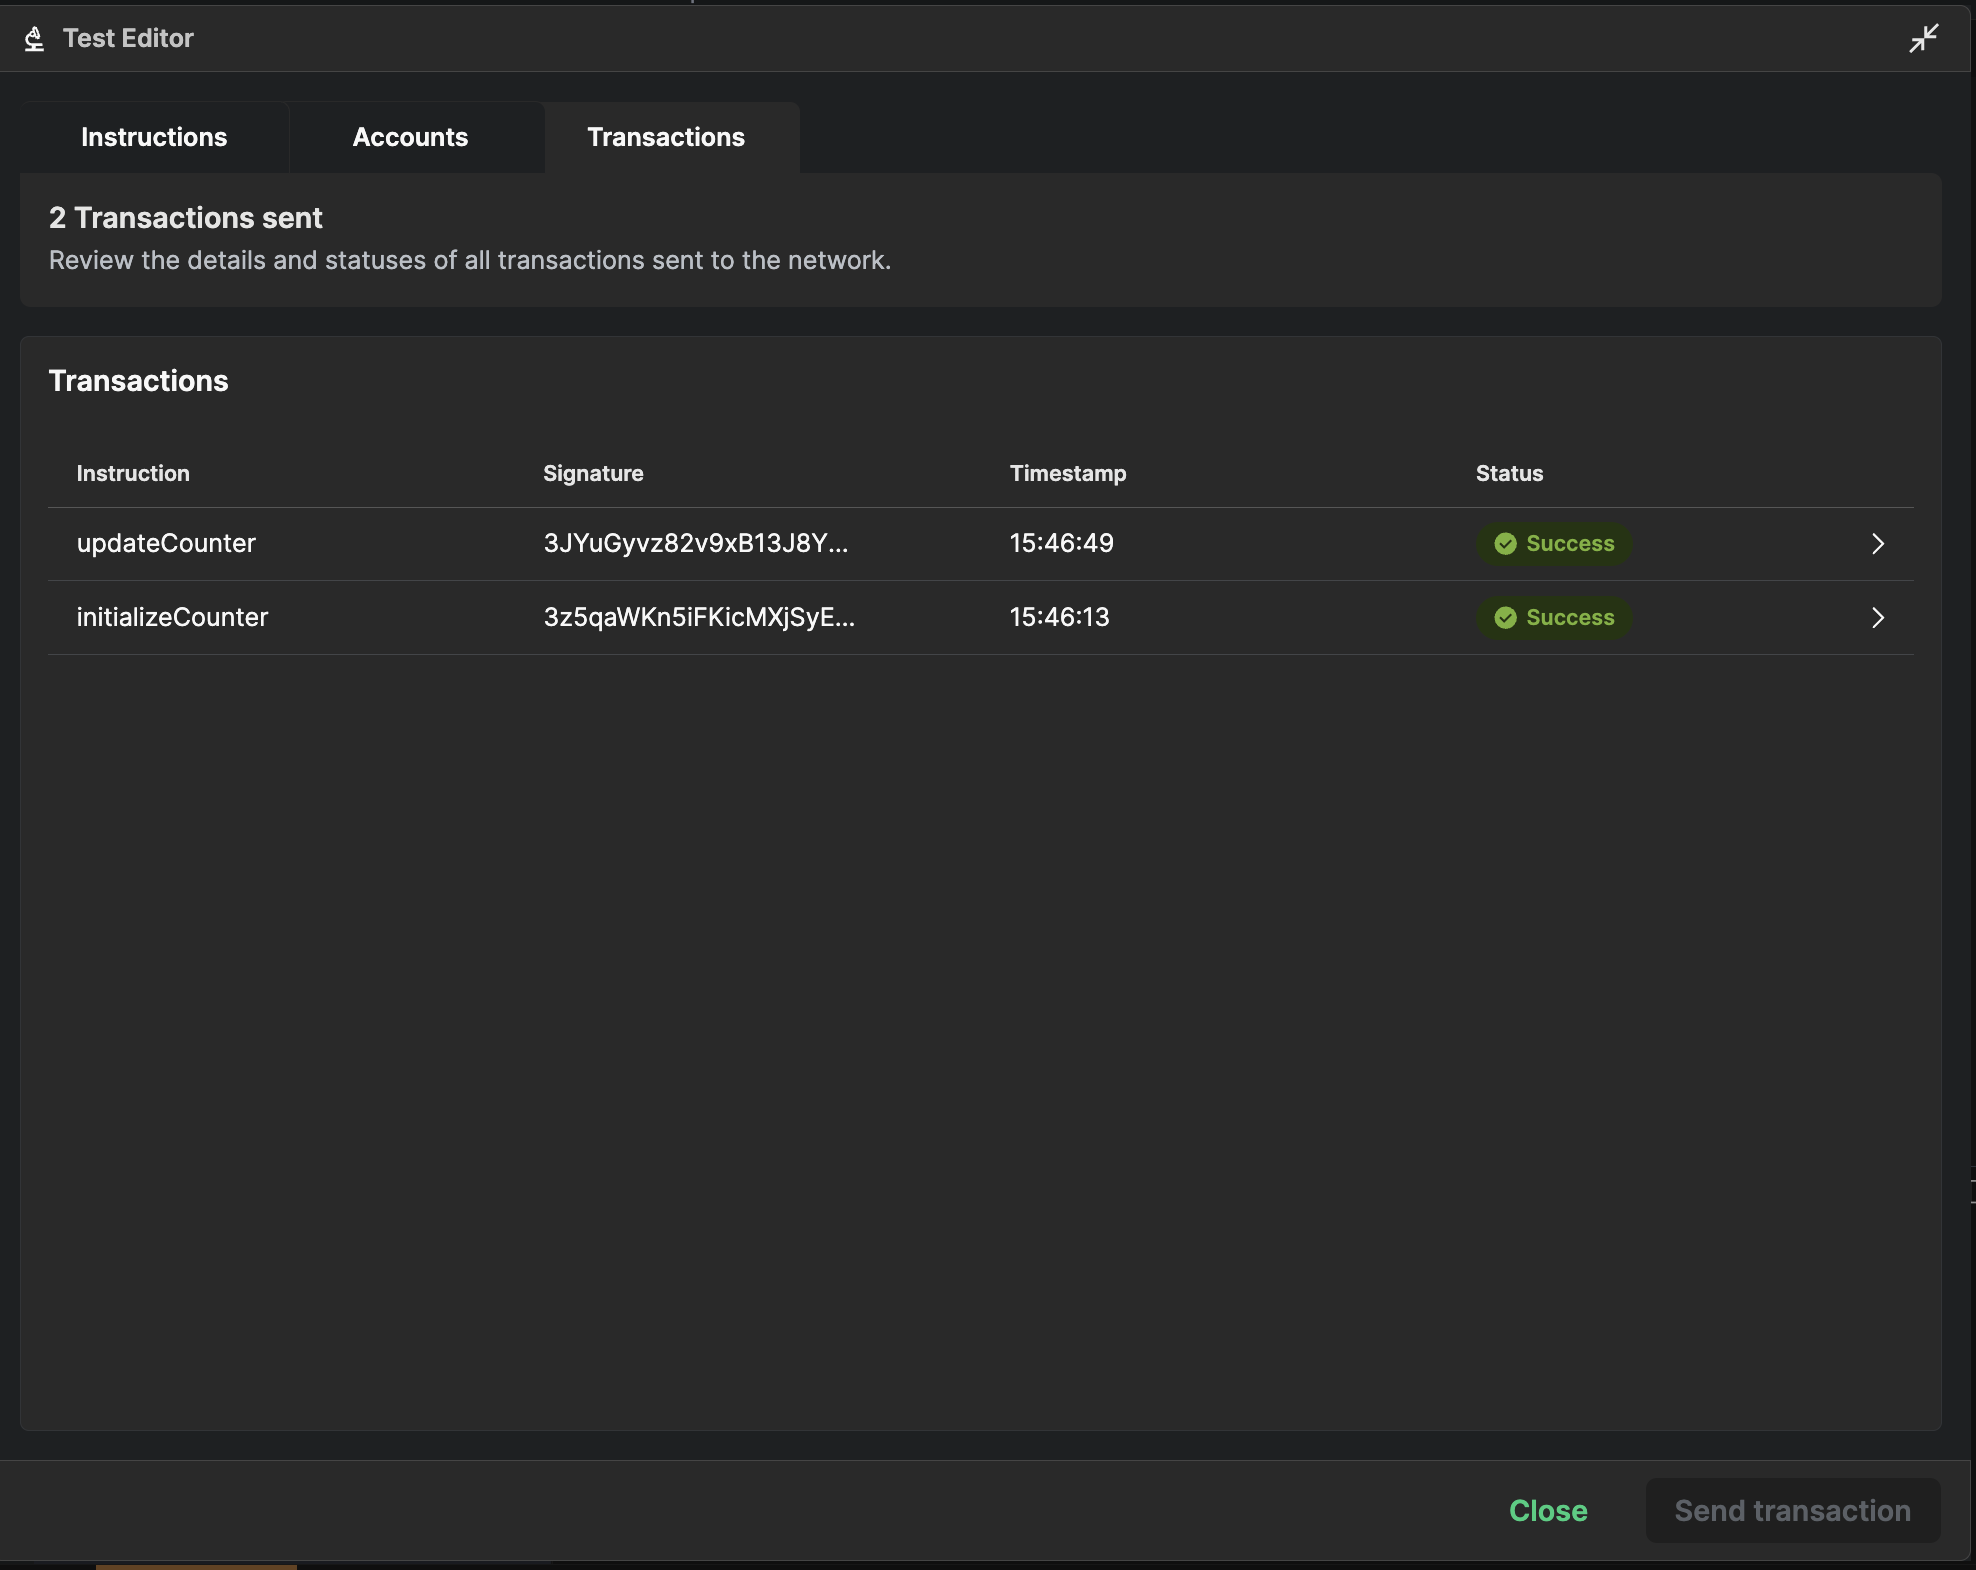
4️⃣ View Transaction Details
After sending a transaction, click "View Details" to see the results. This opens the "Transactions" tab.
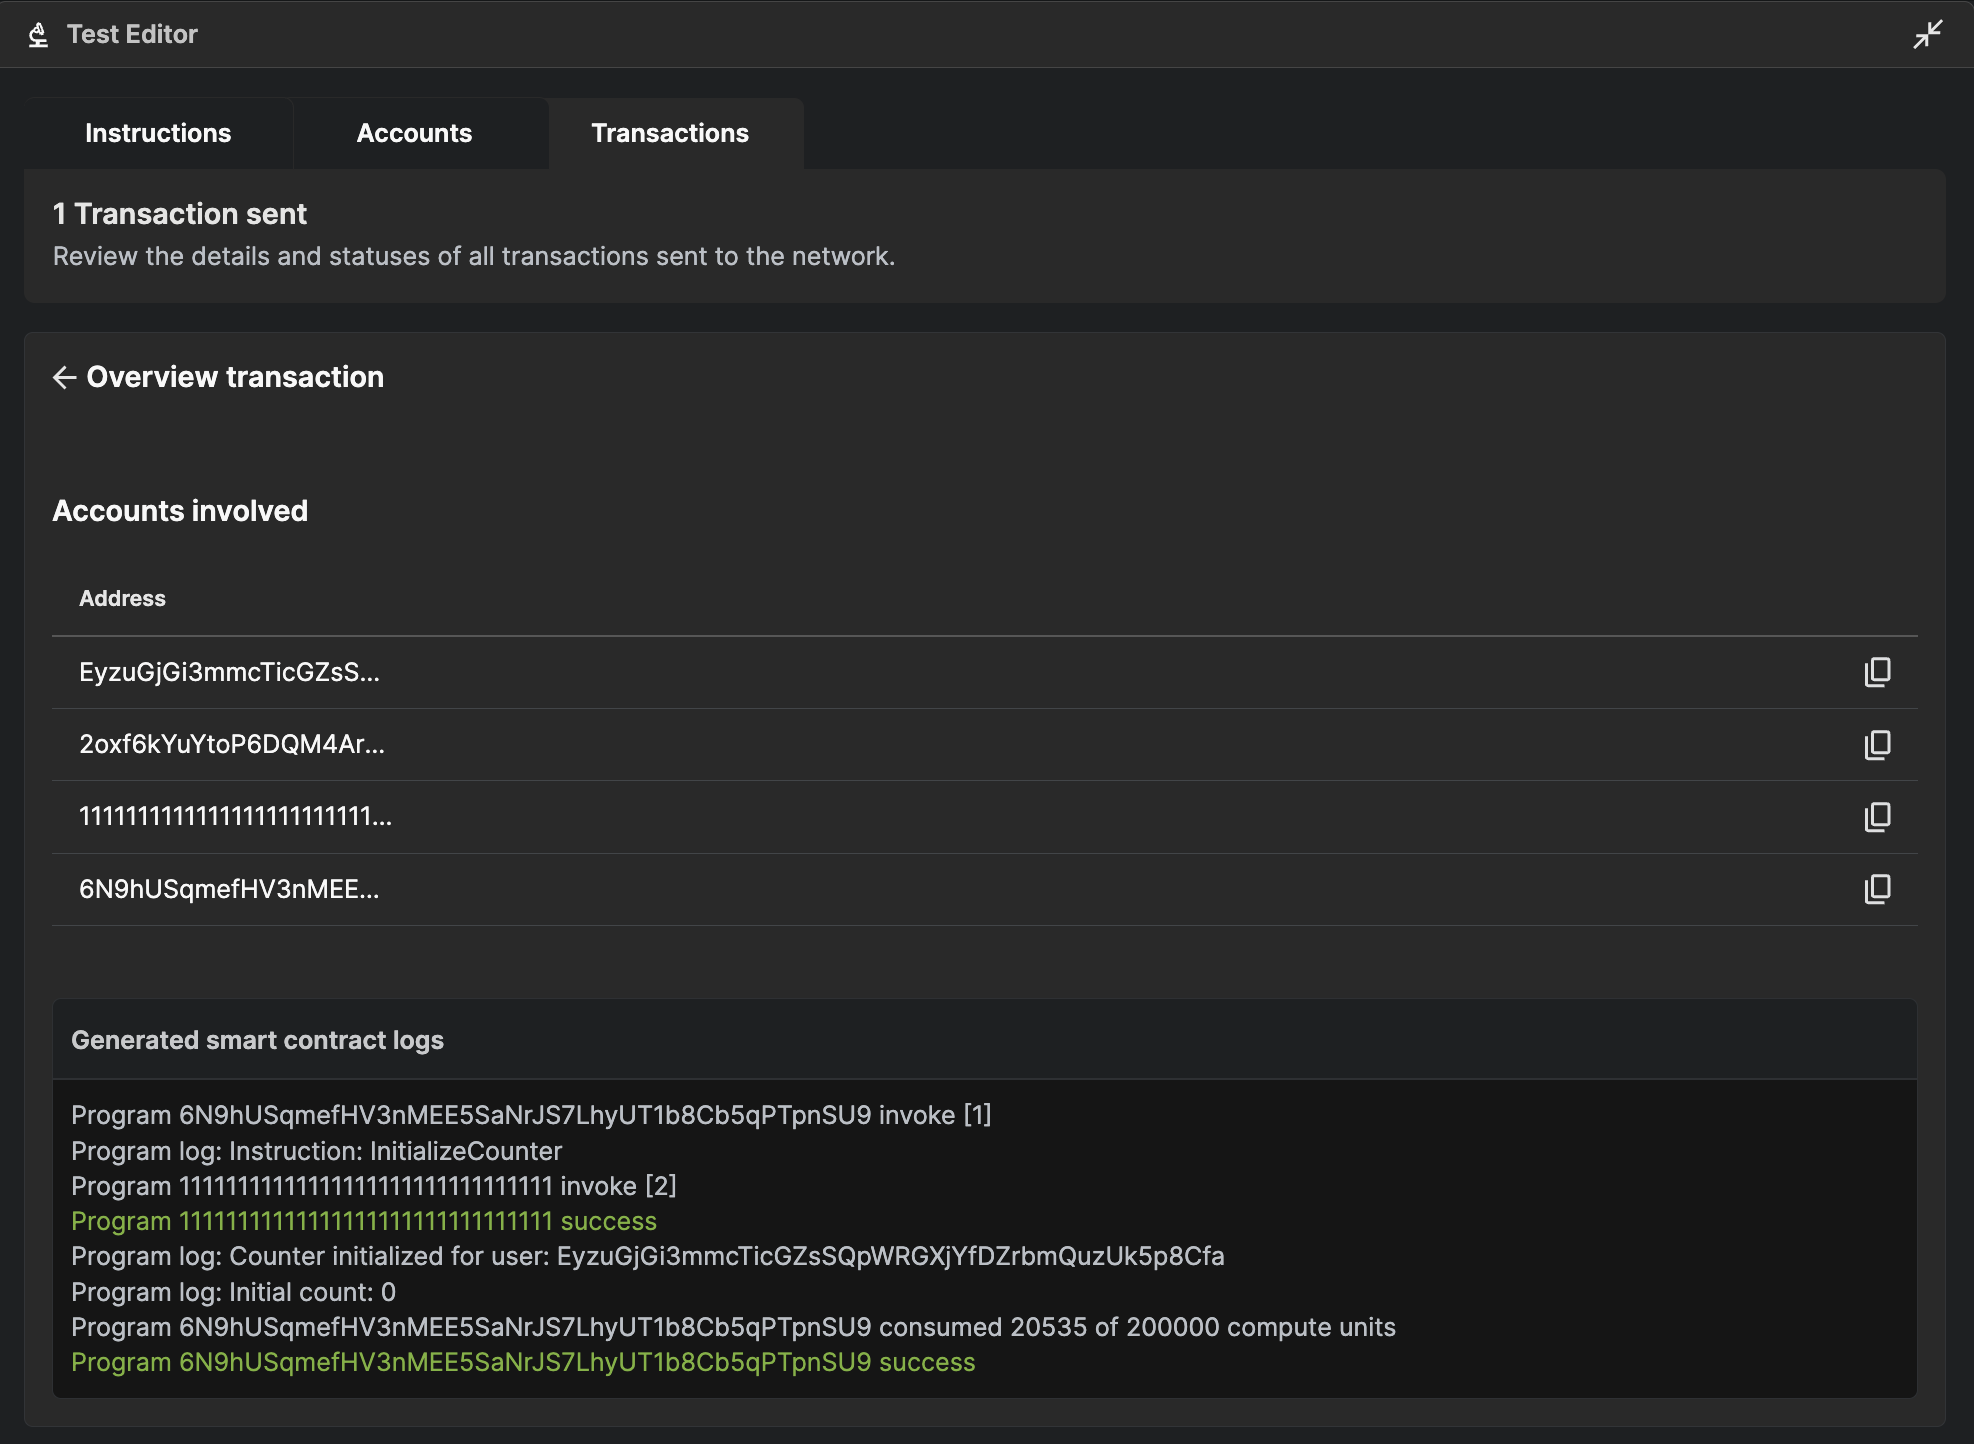
The transaction explorer shows:
- Transaction status - Success or failure with error details
- Accounts involved - All accounts that participated in the transaction
- Instruction logs - Detailed logs from your smart contract execution
- Transaction signature - The unique identifier for this transaction
This gives you complete visibility into what happened during the transaction execution.
5️⃣ Inspect Account Data
Switch to the "Accounts" tab to view all accounts associated with your smart contract.
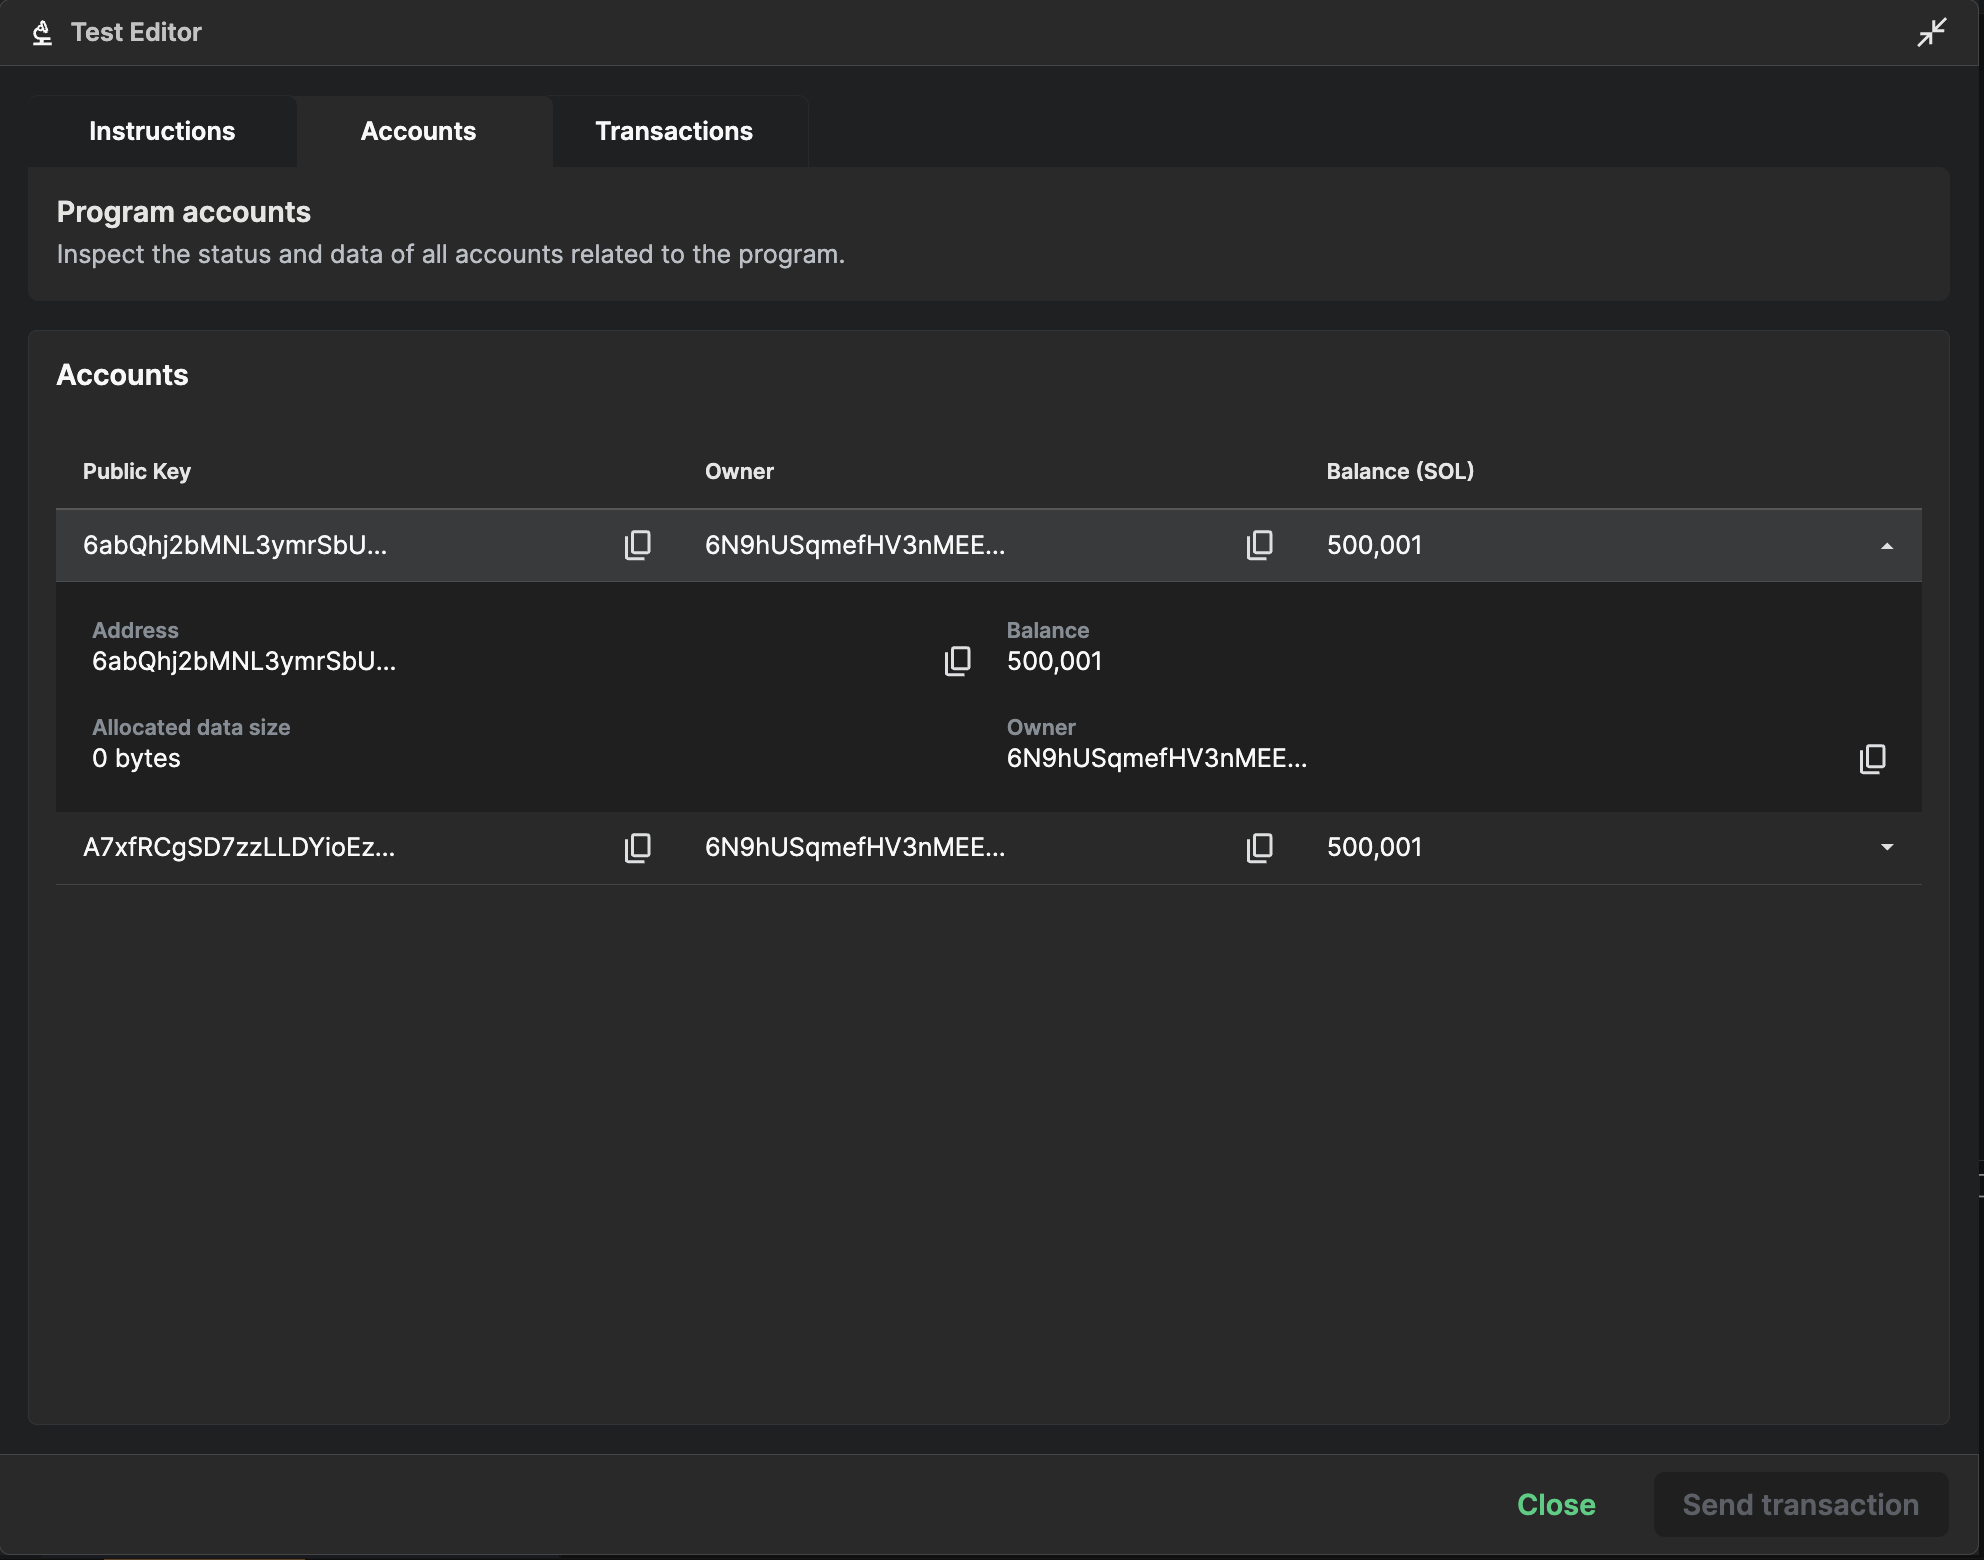
Here you can:
- Browse all accounts - See every account created by your program
- View account data - Click on any account to see its stored information
- Inspect attributes - Examine the data structure and current values
- Track state changes - See how account data changes after transactions
This is particularly useful for understanding how your program's state evolves with each transaction.
🎉 You're Ready to Test!
The Test UI makes it easy to:
- ✅ Test your smart contract without writing frontend code
- ✅ Debug issues with detailed transaction information
- ✅ Verify account state changes
- ✅ Share working examples with your team
No more guessing if your smart contract works correctly - the Test UI gives you immediate feedback and complete visibility into your program's behavior!